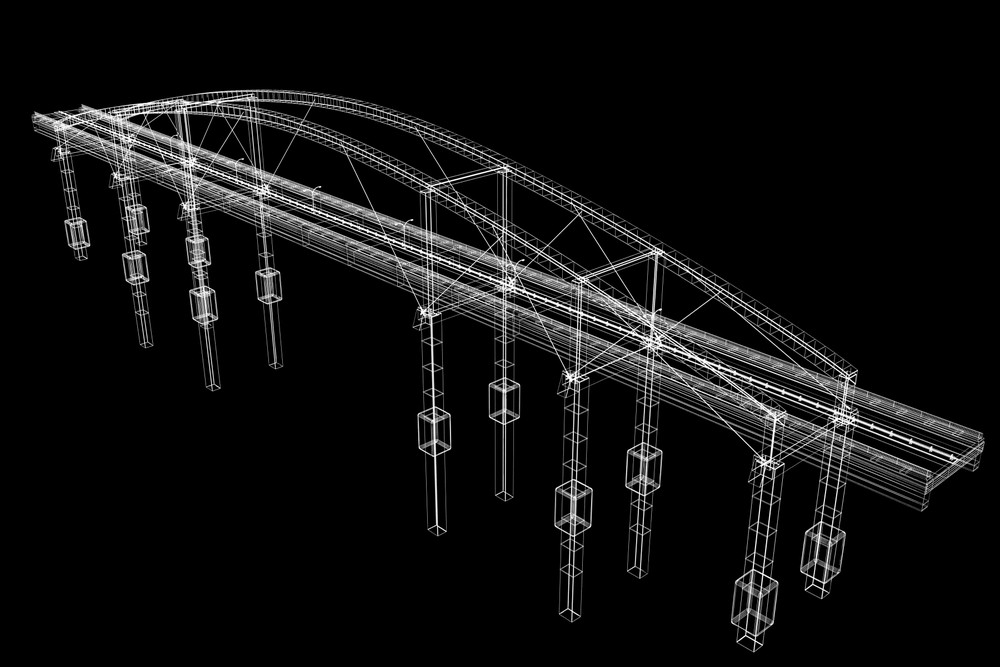
Vray Transparent Wire-frame

Recently I was looking for a way to render a transparent wire-frame. I have rendered a normal clay wire-frame before but not a transparent one as above, so I did a quick search on Google and could not find any reference for doing this using vray in 3D Studio Max which surprised me. So I went back to Studio Max and set about working it out. After a bit of fiddling about and a few renders it turns out to be very simple and obvious, so without delay here is how you do it.
Just incase you don’t know how to do a normal clay rendering I will go through that first and then go through the slight changes you have to make to render a transparent wire-frame.
A standard grey render
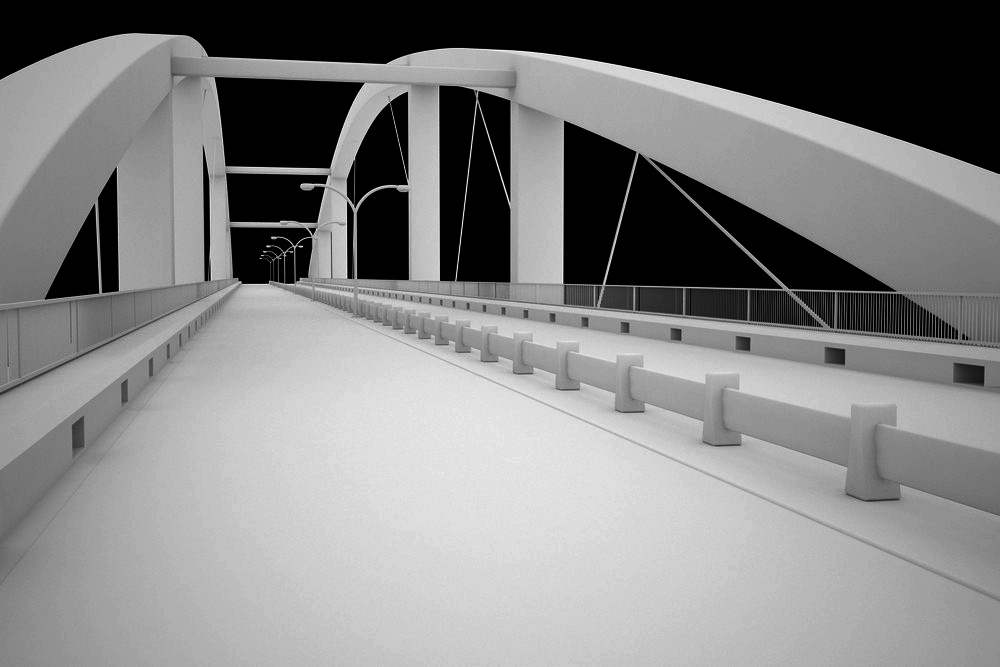
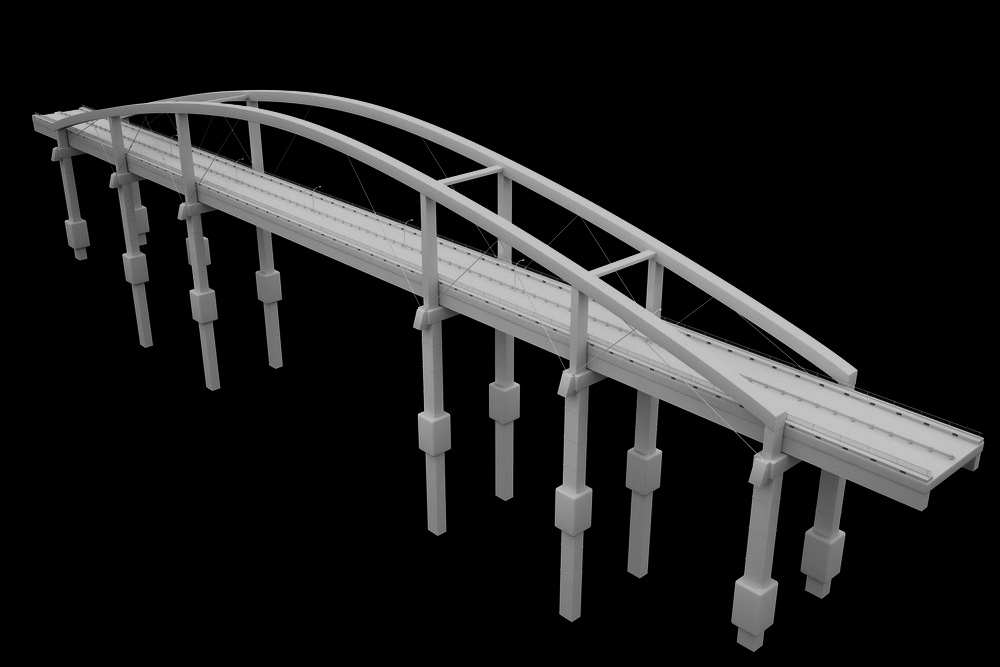
A clay wire-frame render
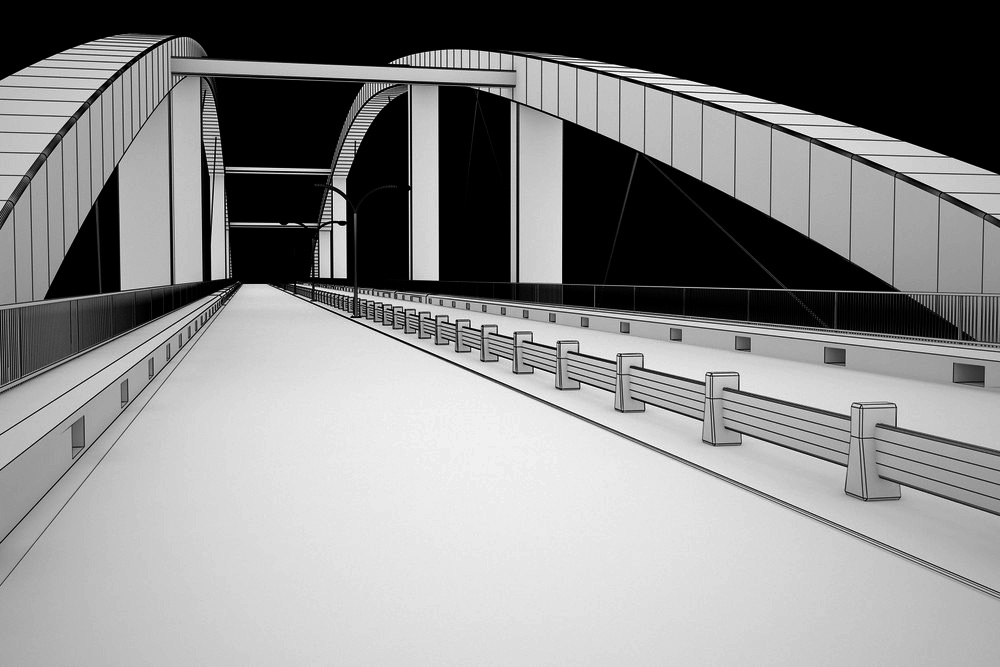

The above pictures are of a clay render, this is generaly used to show a wireframe of a model or scene, to render this we make a material that draws line along all the polygon edges.
To do this we use a material with VrayEdgesTex in the diffuse slot of a standard vray material with all other settings as standard.
For the all the newbies here press (M) to get the Material Editor up and select an empty slot. Rename the material to something like "clay wire-frame"
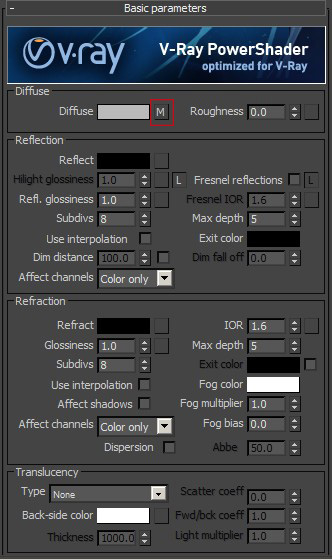
and click the standard slot to change the material and select VRayMtl from the list.
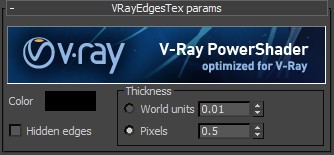
The standard vray material defaults to 50% grey in the colour slot, if you want the base colour to be different then you can change it if you want. Once you have the basic material up click the little box next to the diffuse colour and a slightly amended list will come up, select VrayEdgesTex from this new list.
This texture is only for drawing a line along the polygon edges in a certain colour and thikness, generaly I use black with a thickness of 0.5 pixels.
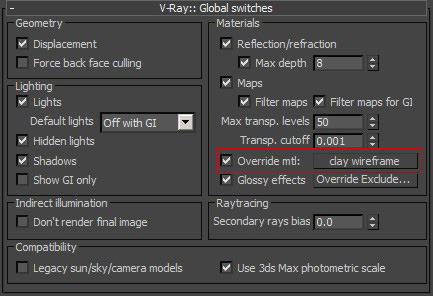
Ok now we have the material made we need to go to your render setup in the Rendering menu or (F10). Select the V-Ray tab, open the Vray:Global switches and put a check next to the Override mtl:. Now you can just drag and drop your new material to the override mtl slot. What this does is use whatever material you put in the slot on all objects at render time, including windows, this is usfull when first building and placing objects in a scene.
And all you have to do now is set you camera and lights and your favourite render settings and you should get something like the preceding images. Just as a note I set the environment colour to black to give the black background.
Now, for the transparent see-through type wireframe we have to change a couple of things in the material. So go back to the material and click’n’hold on the "m" next to the diffuse and drag it down to the Refract box, change the Refract colour to pure white (255) and change the IOR: to 1.001.
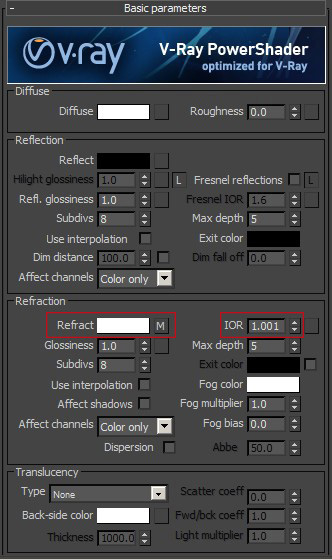
What this will do, as long as your VrayEdgesTex colour is black, is make the material transparent apart from the polygon edges which will be whatever you set the diffuse colour to. Change the material diffuse colour to white and re-render and you should get the following.

If you want to have the wire-frame glow on a gradient background then open the file in photoshop and set the layer to Linear Dodge and place a gradient below it.


I hope this tutorial has been helpful lf you have any queries please leave a comment below.