Modeling Quick Windows in 3D Studio Max
There are several ways to build windows in Studio max using inset, connect bevel and extrude, but it takes along time selecting the edges, vertexes and polygons whilst swiveling the view trying to get into that hard to see corner. Now though we have the use of Bevel Profile which makes building windows extremely quick and you end up with an incredible amount of detail that you would never get using the standard method
Tutorial Notes:
[download id=”2″ format=”2″]
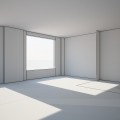
So lets get started with a simple room built using CG Interior building the walls, ceiling and floor.

The first thing we need to to is to set the snap tool to Vertex, so right click on the snap tool on the ribbon at the top of the screen and set the Snaps options to Vertex and Midpoint then close this and make sure the snaps tool is set to 3D.

We are now going to make a plane in the window space and set the length and width segments to the amount of windows you require. We are going to use this plane as a guide to draw the spline’s we are going to loft.
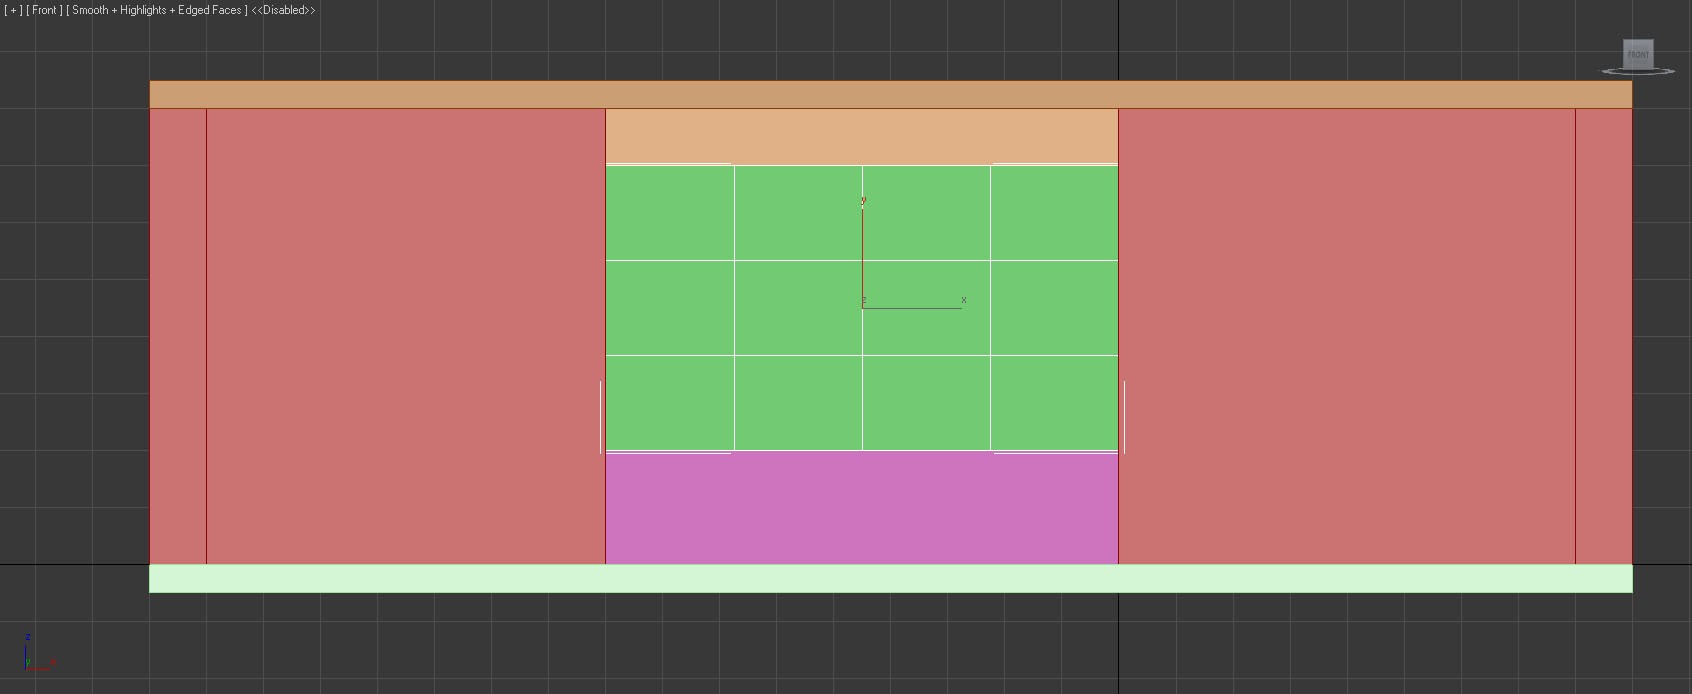
With the plane selected tap the space bar to lock it as the selection and in the top view I click and held on the y arrow constraining the axis and dragged over to the middle of the middle of the window hole. Because we set the snap options to midpoint it will place the plane in the middle of the window space.

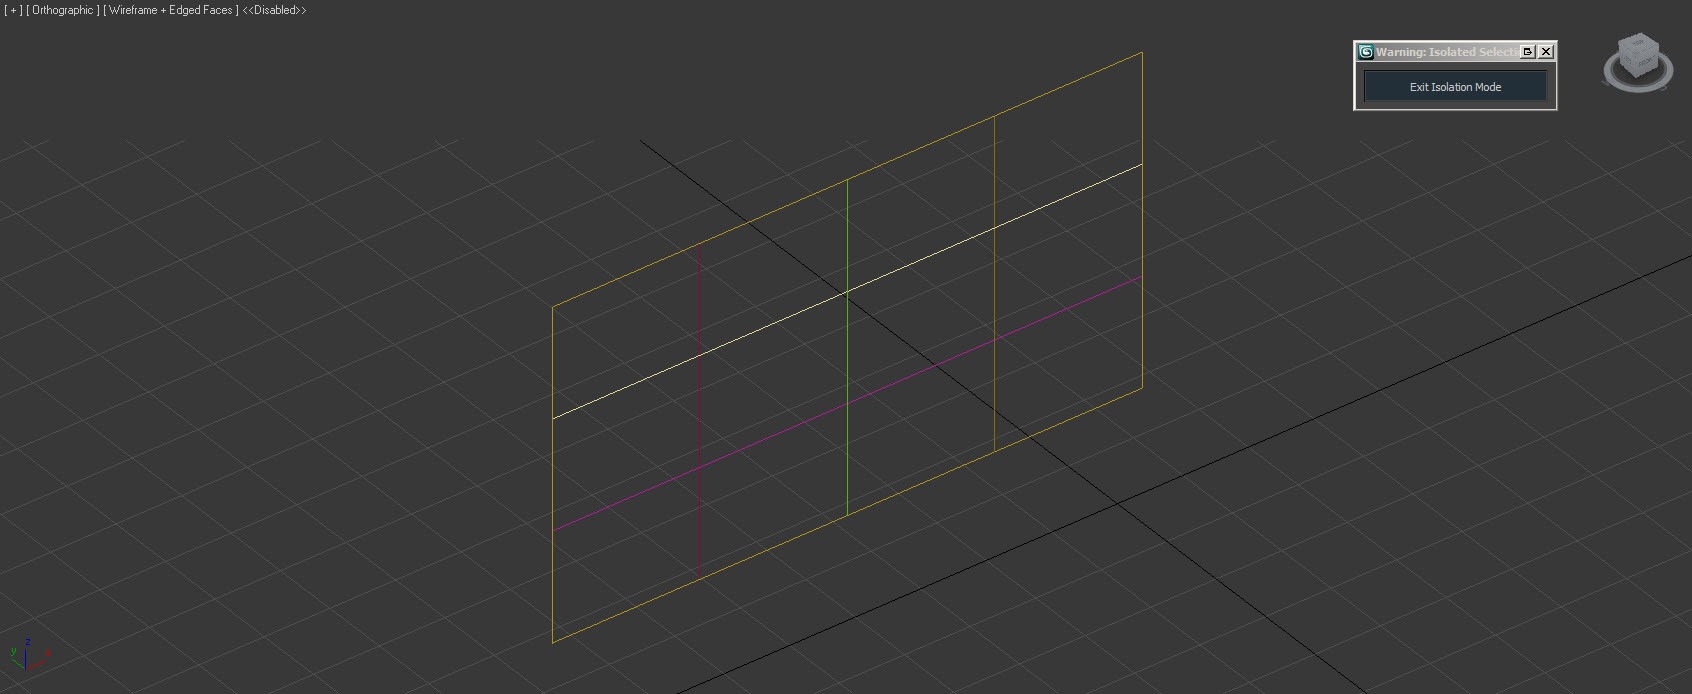
If we now click Alt Q whilst having the plane selected we can single it out of the scene and build the window in a nice clean space.
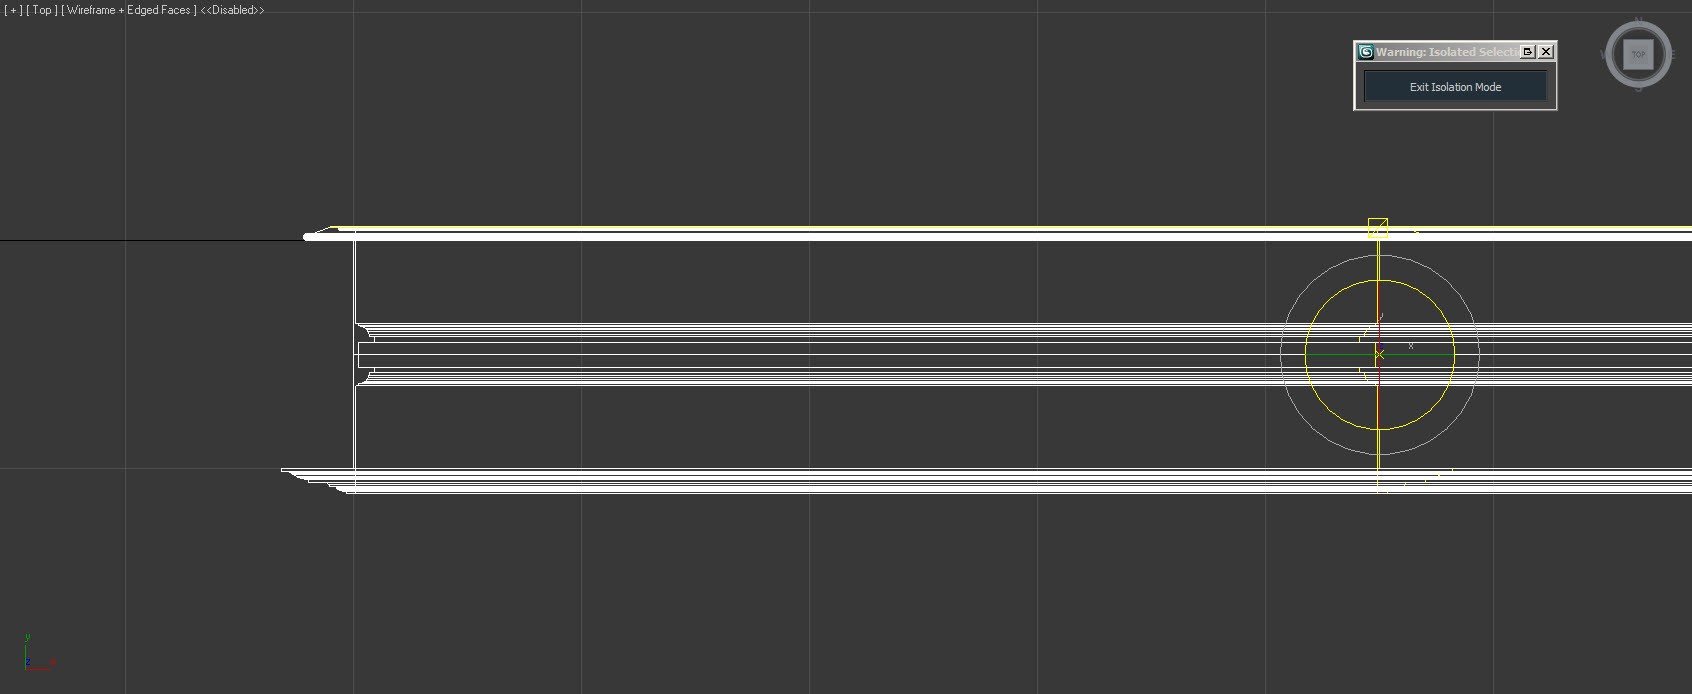
After clicking the space bar again to unlock the plane I switched to the front view [F] and singled it out [Alt W]. Now all we have to do is draw the spline’s where we want the window frame. So using the line tool I drew one spline around the the plane for the architrave then five single lines for the frame, don’t worry about them crossing each other.
I have a bunch of profiles saved in a folder on my machine so I imported one that is made for a wall that is 1 foot deep, but I could have used any of them and moved the architrave vertexes later.

The main thing to notice here is the little white vertex. This is the vertex that will get attached to the spline if it is in the wrong place click the correct vertex and choose Make First on the vertex modifier drop down.
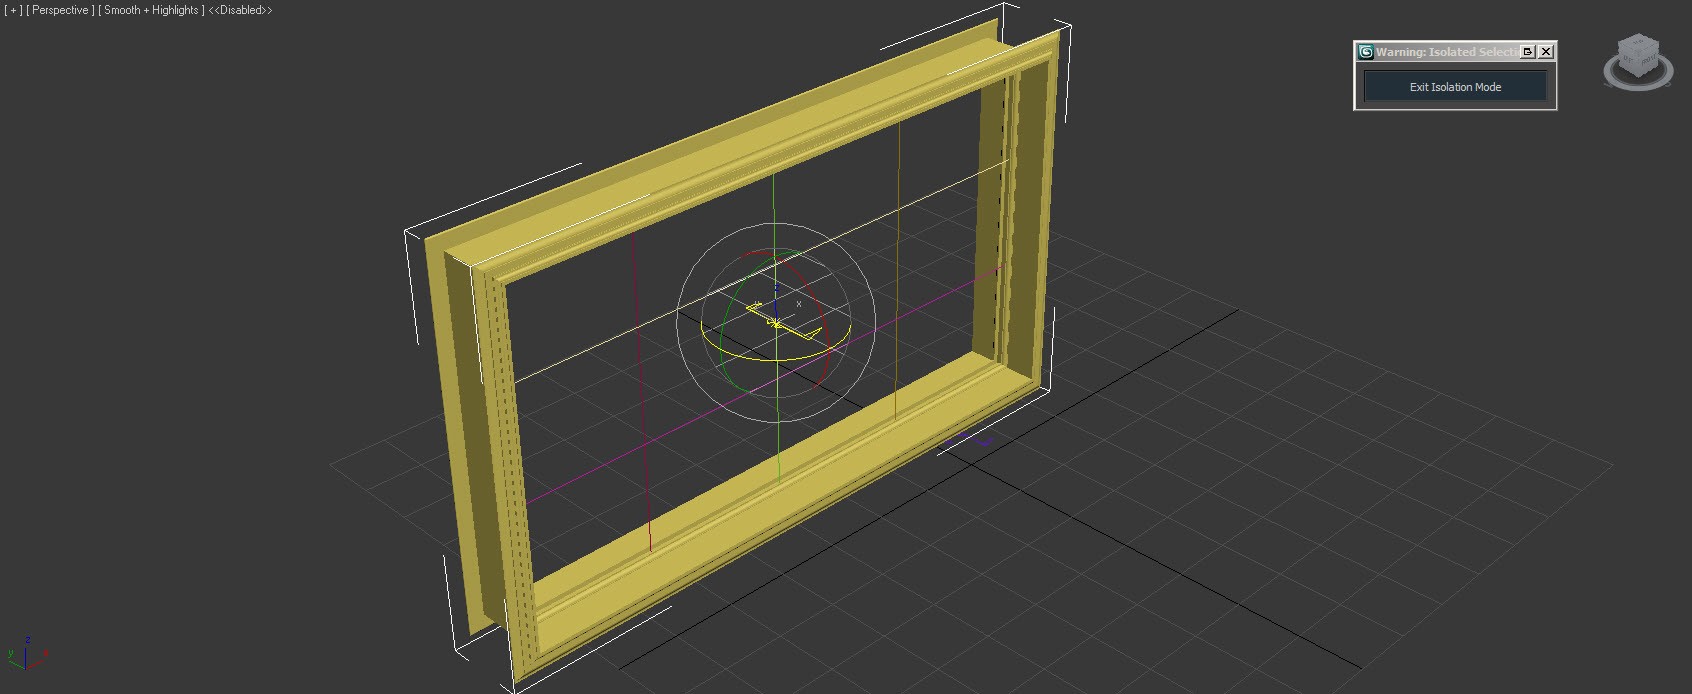
Select the outer line and add a Bevel Profile modifier and pick the big profile. There is a good chance the profile will wrap in the wrong direction. If this happens go to the modifier and select the Bevel Profile Gismo and use the rotate tool with Angle Snap Toggle turned on to help you rotate the profile 180 degrees so it looks like the one below.
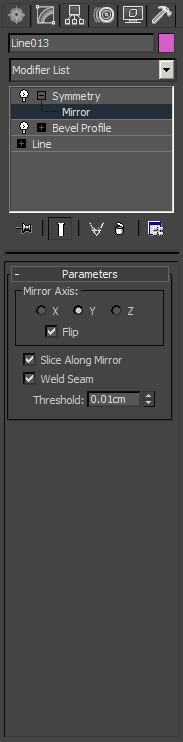
For the window frame part select one of the horizontal spline add a Bevel Profile modifier and pick the smaller profile. This will only do one side of the frame so we need to add a Symmetry modifier and selecting "y" Axis and flipped to make the other side. You can now copy and paste the Bevel Profile and Symmetry in the modifier panel to the other horizontal spline.


You can now do the same for the vertical spline’s, bevel one of the spline’s and copy to the other two.
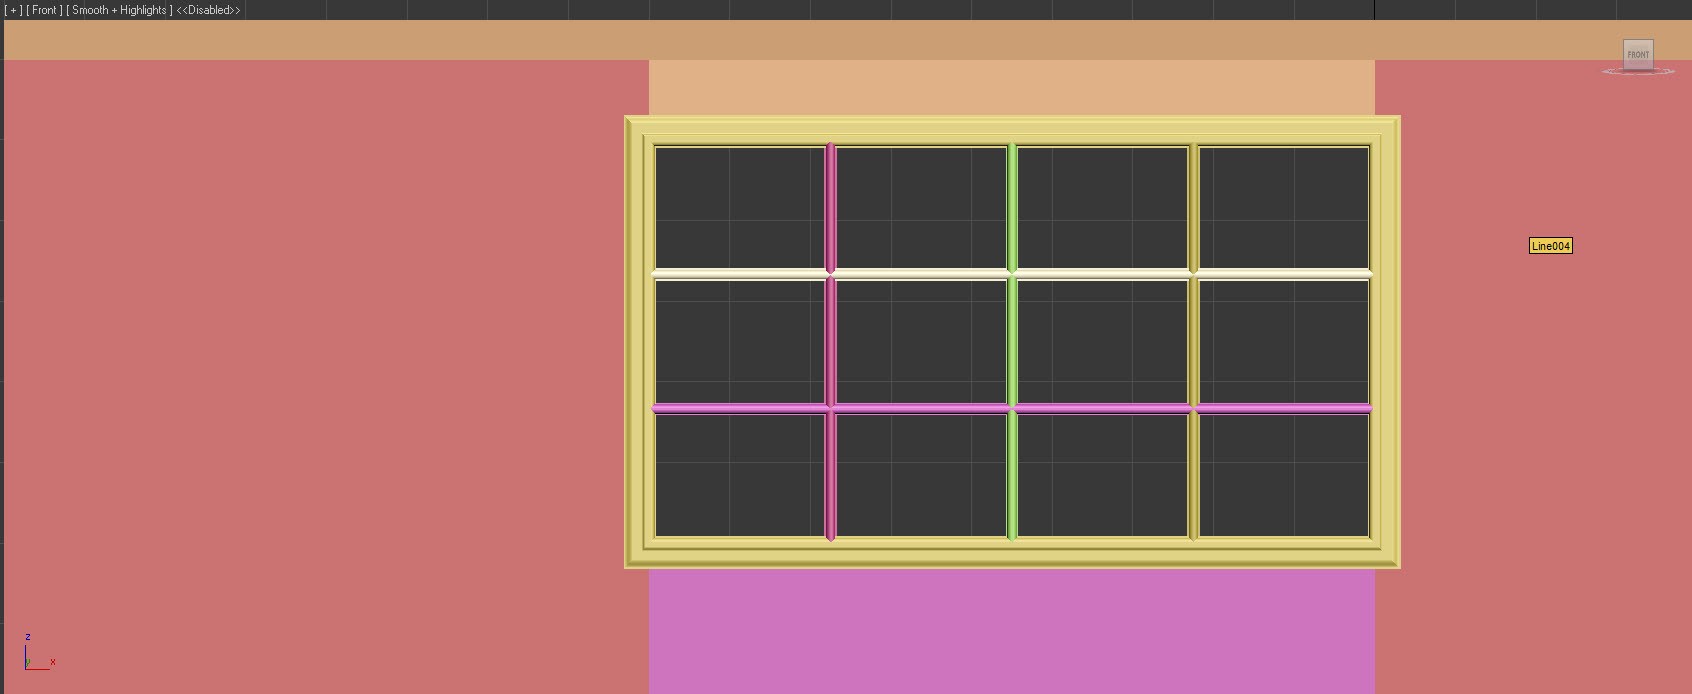
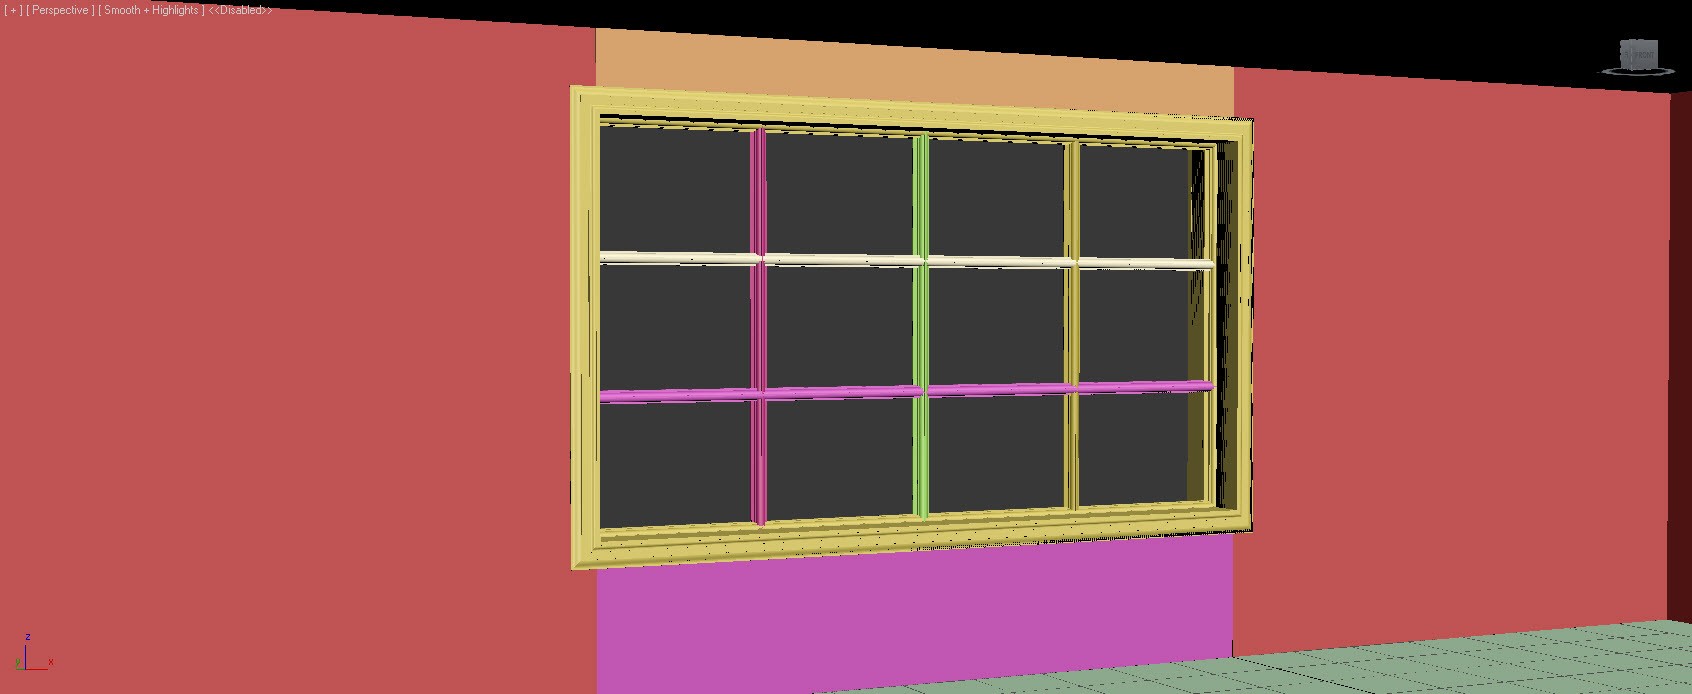
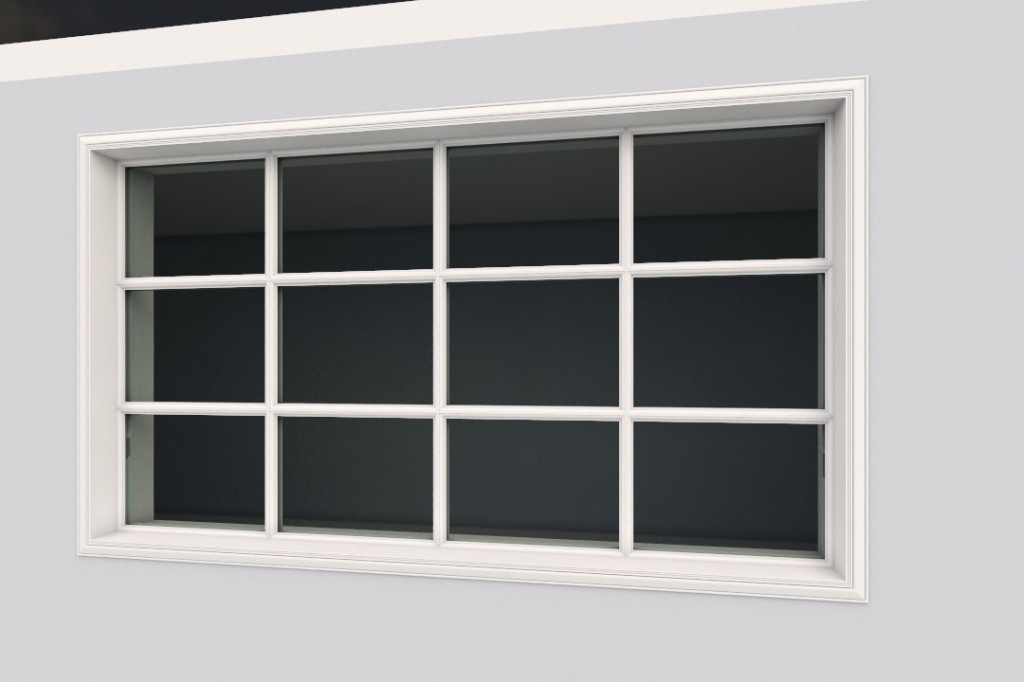
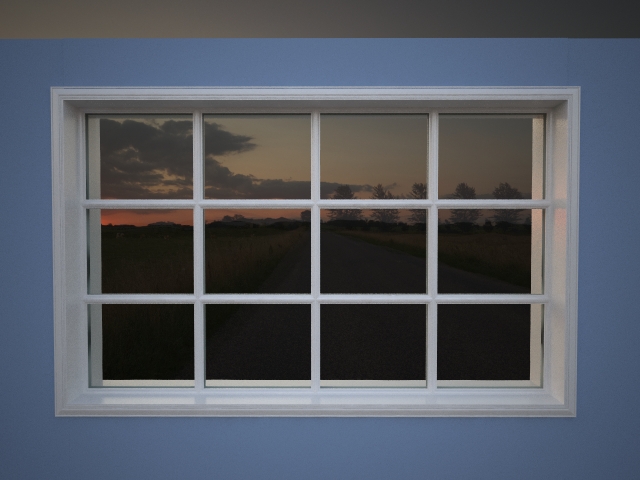
That’s it really, add a couple of window panes down the middle and materials and its done.
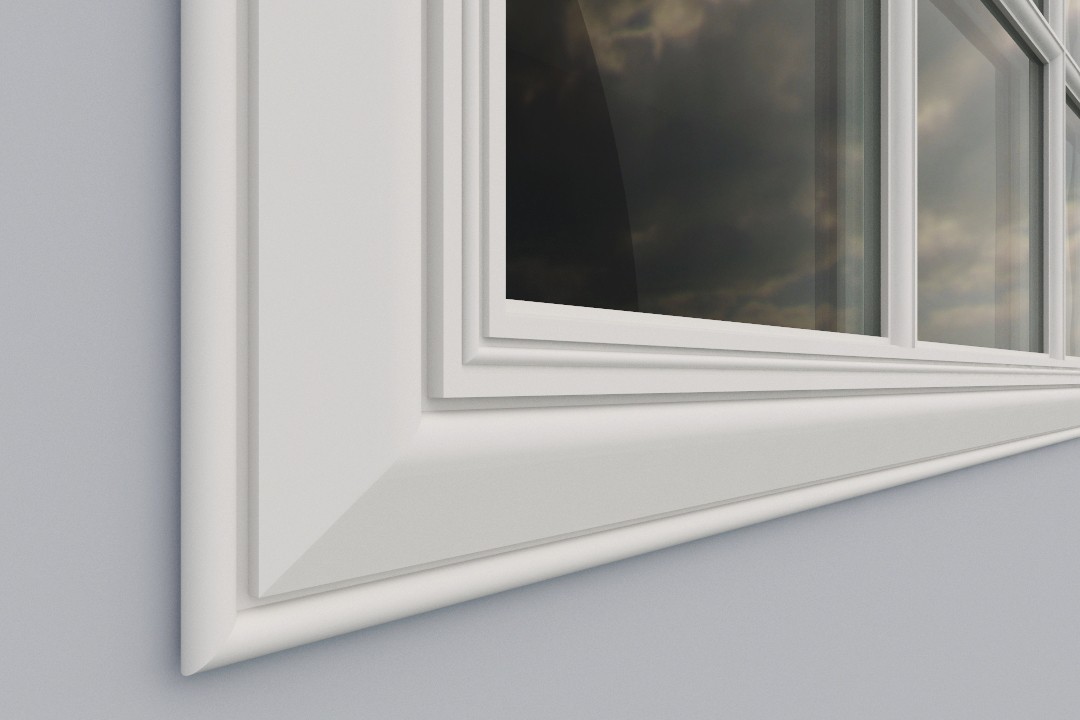
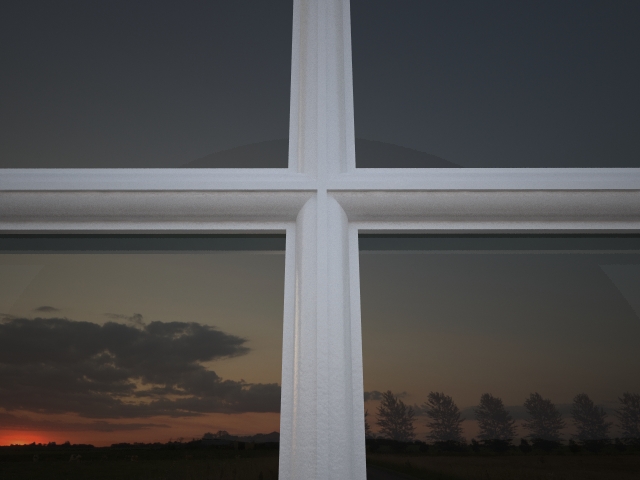
Apart from the speed of doing this you can get an incredible amount of detail that would take hours to get by modeling and you probably wouldn’t achieve. Just look at the wonderful curves and nooks & cranies you would spend hours over if modeling.


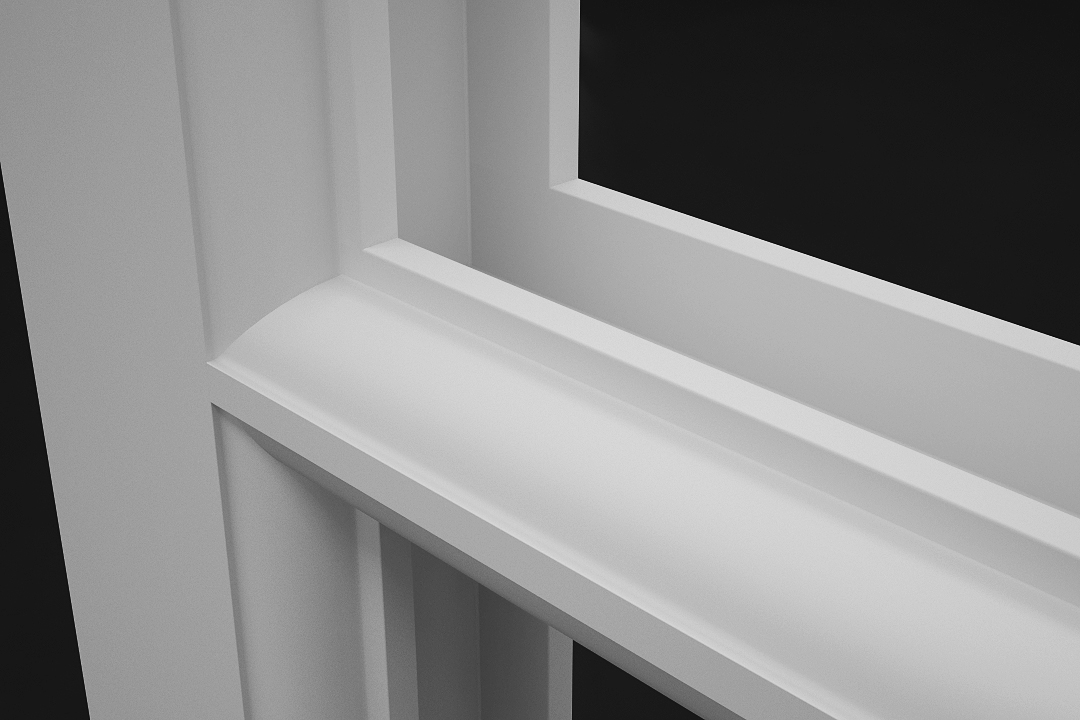
If you want a window sill just delete the bottom spline from the outer architrave spline and add a chamfered box.

Now this is quite a simple window that doesn’t open, but its not too hard to split the window into segments and make two boxes built in the same way for an open window, you need a different set of profiles though.
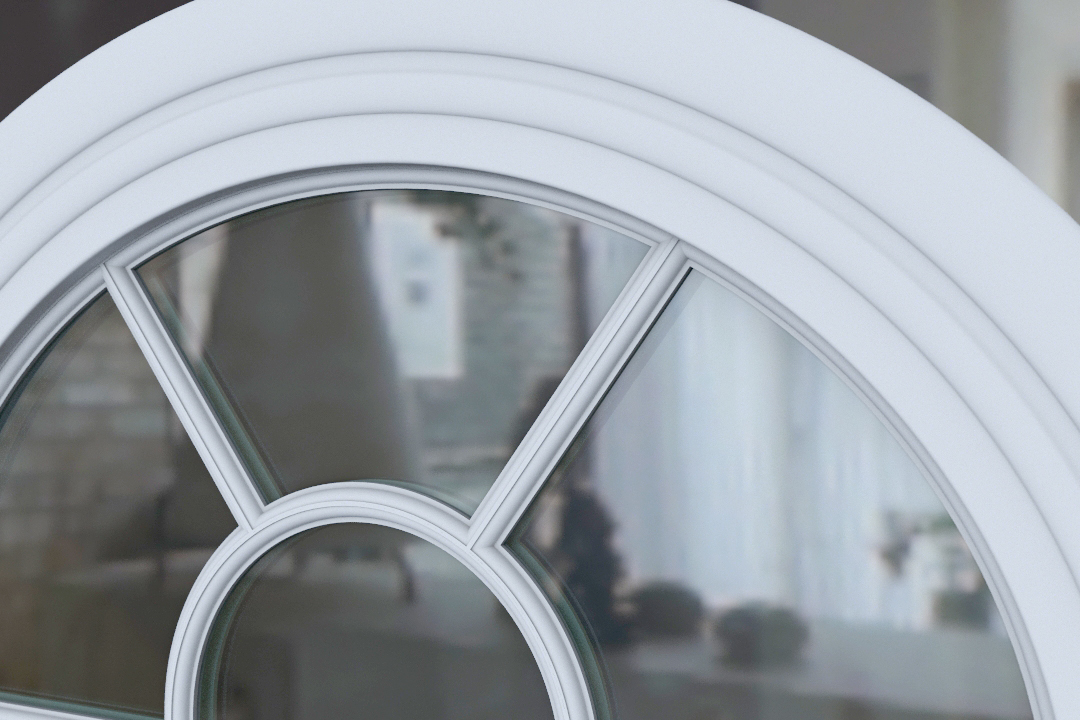
Let your imagination go its not to hard to do an arched window with the same profiles I used on the rectangular window, or a perfect circle.

I hope this tutorial has helped you in some way, please feel free to leave any comments or questions below, I would love to see some of your own examples.
Tutorial Notes:
[download id=”2″ format=”2″]