Quick Studio Set
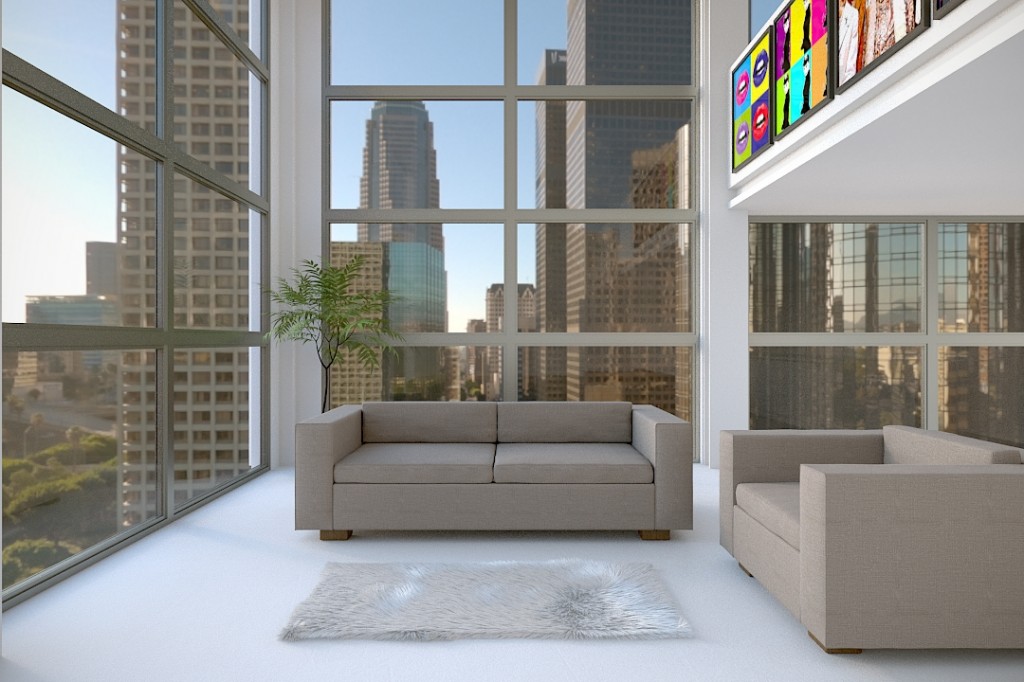
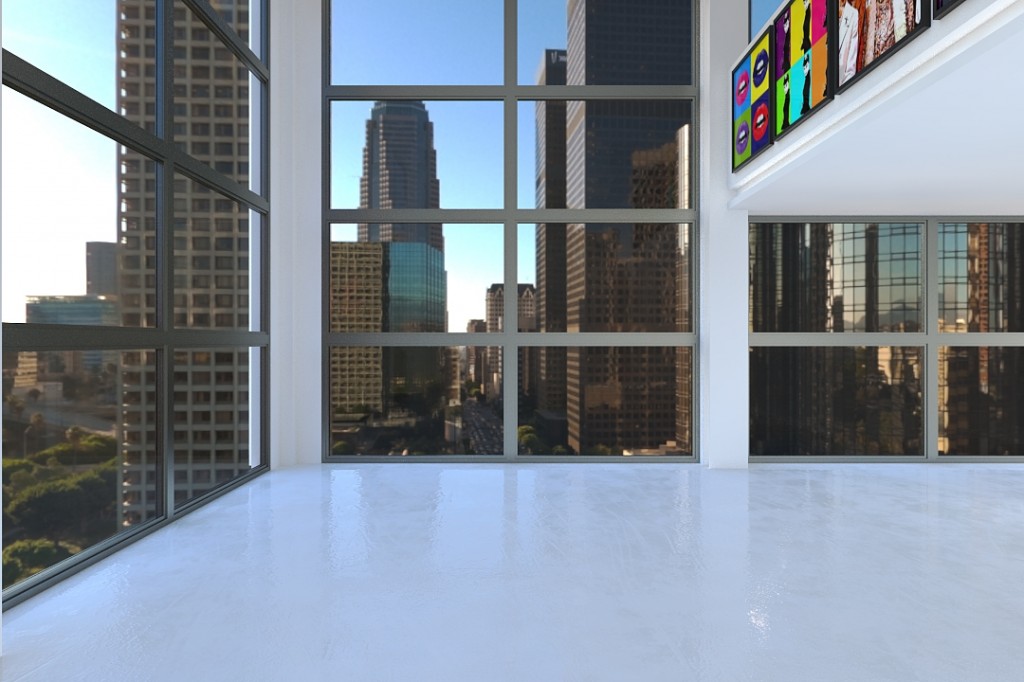
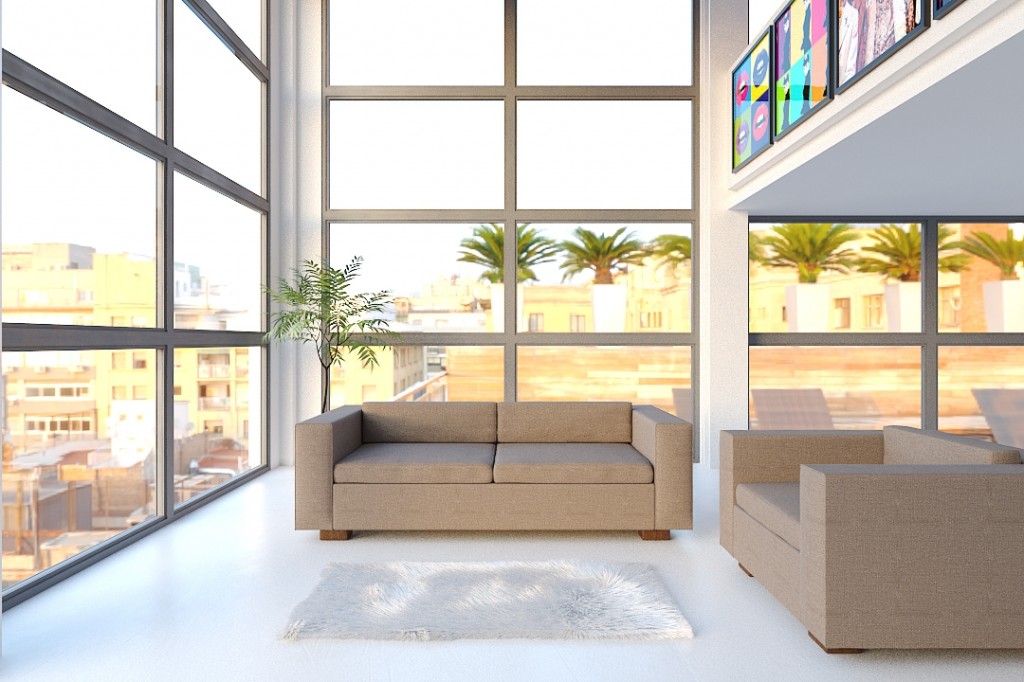
I needed a quick studio set for displaying some sofas I have modeled in Studio Max, so I quickly whipped up this model. I wanted a light and airy set with high windows in the style of a modern loft apartment.
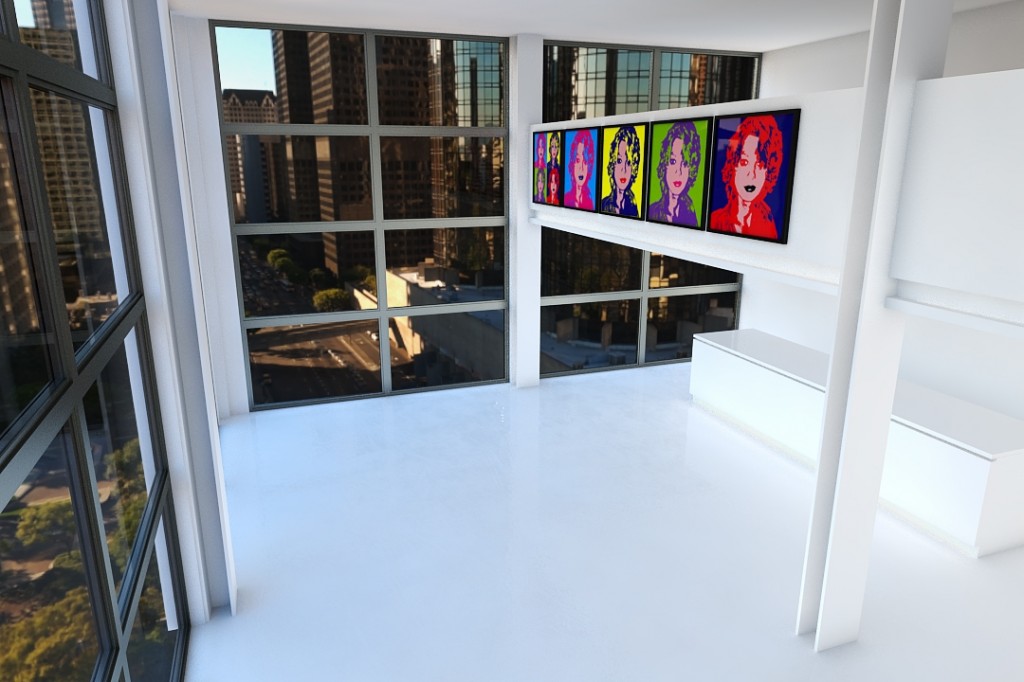
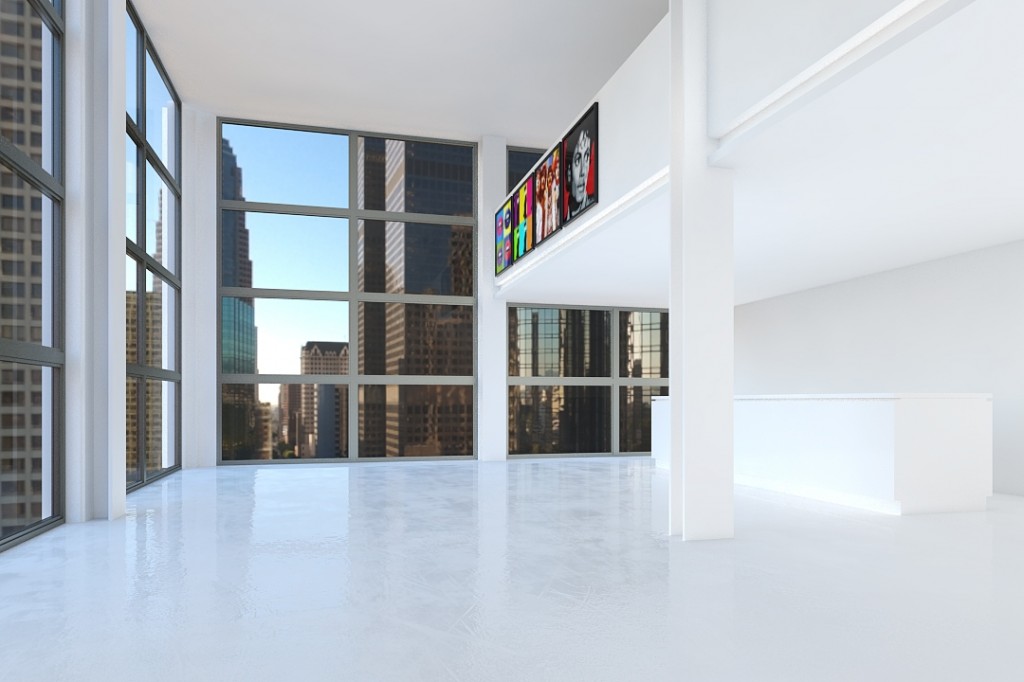
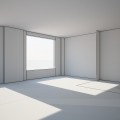
As you can see from the picture below the room has two walls of of floor to ceiling windows with two solid walls to bounce light of off.
First off I made a box 9 meters by 7.5 meters for the floor then shift dragged it up 4.5 meters for the ceiling. I was not being exact here as it is a general purpose room, but I always work in real word units so all rooms, models and textures all work together with need for lengthy amendments, everything can just be imported and moved into place.
I separated the windows with a square pillar with an I beam on the front made drawing an I shape with the line tool and extruding. Couldn’t be simpler.
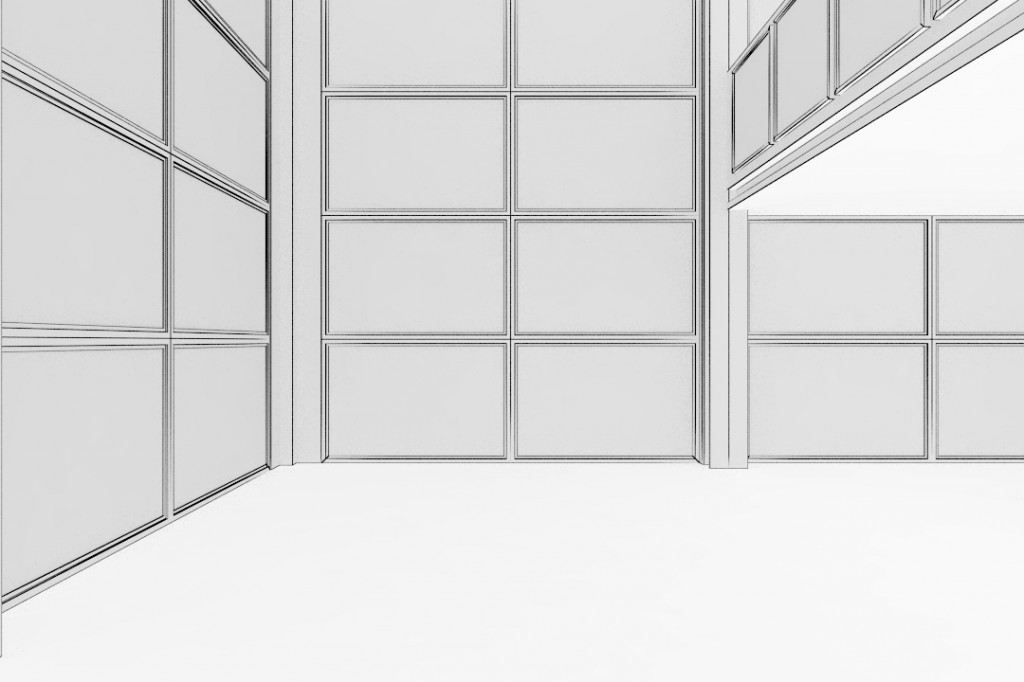
The windows are built in the usual manor, Modeling Quick Windows in 3D Studio Max. I draw a quick plane as a guide in the gap with 3d snap turned on and set the segments to 4 by 2. Then using the line tool with the snap still on I drew four crossing lines with one around the outside and deleted the reference plane. After using a google image as reference I drew a simple profile for the window beams to use on these lines via Bevel Profile. After putting a box all the way through the middle, for the glass, I grouped all the bits together and copied it around the two walls.
Now all that was needed was two basic boxes for the remaining two walls and three boxes of varying heights and widths for the balcony.
As far as the modeling goes that’s was it, very basic with a very low poly count.
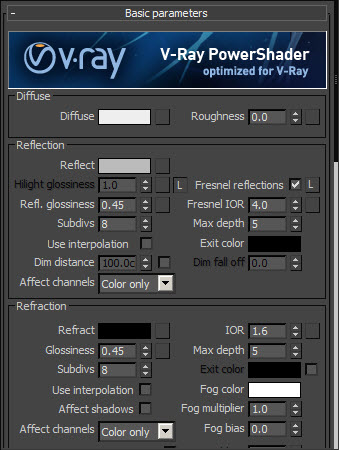
As far a texturing goes the walls and ceiling have a basic white colour 220 with 50 percent reflection, glossy ness 0.45 and IOR of 4 which is my standard wall and paper material. If I was going for realism I would add a dirt texture into the reflection, glossy ness and bump slot, but I was trying to keep it quick and simple.
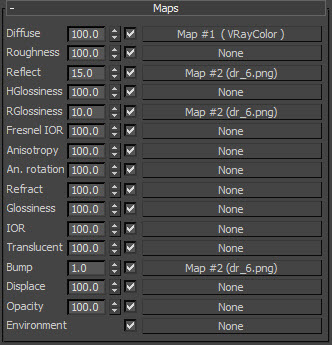
The floor on the other hand does have a dirt map in the slots as I wanted a glossy floor with marks. Somehow I turned this down when I put in the furniture.
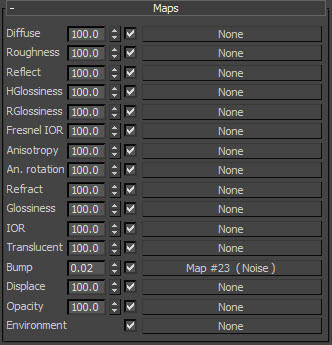
Vray Textures
Wall Texture
Floor Texture
Glass Texture
The only light I have is a vray dome light with a HDR image in the texture slot and environment slot.
Throw in some furniture and a rug and I’m done.
All the render settings are controlled using Solidrocks Vray-Wizard.
I hope this tutorial is of help to you. If you have any comments of question please leave a message below.
