CG Interior building the walls, ceiling and floor
[include]adsense-main.php[/include]
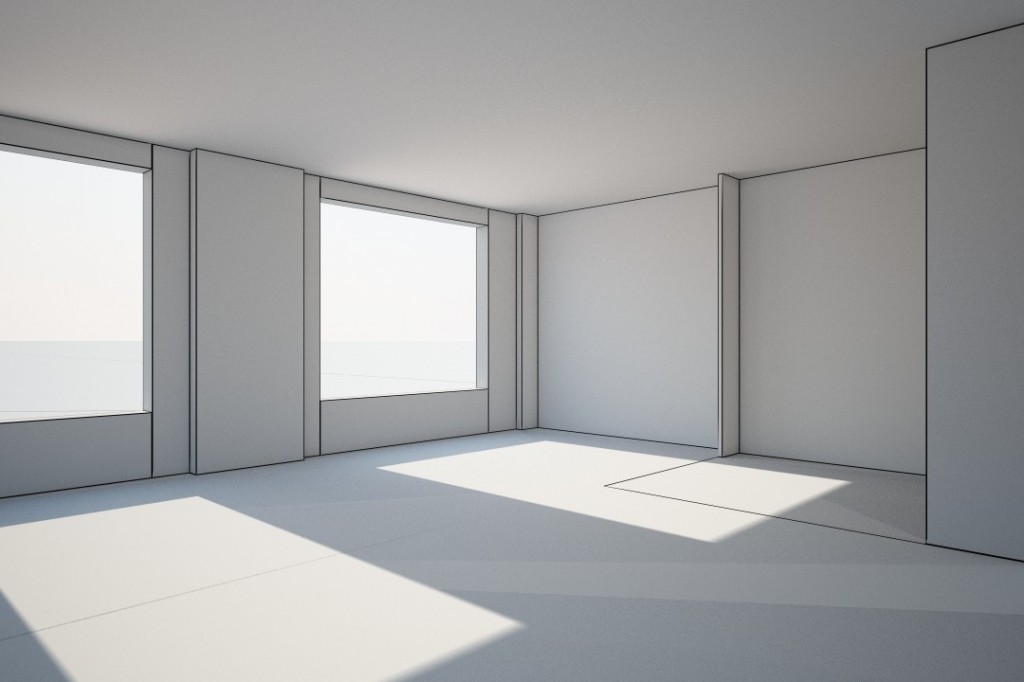
Here I will show you what I think is the quickest, most versatile and accurate way to build a computer generated room in 3D Studio MAx using the line and rectangle tool with the extrude modifier. If you have a DWG floor plan, using the line tool with 3D snap you’ll make the room in minutes. If you go all medieval on boxes you’ll be more than an hour and have a Quasimodo of vertices.
There are several ways to build the walls to make a computer generated interior in 3D Studio Max. Most people, when starting out, draw a box and start cutting it up with the swift and connect tool or using Booleans. When you do it this way you end up with inaccurate boxes with edges all over them making it very had to amend sizes or cut holes because there are diagonal lines all over the faces and you’ll waste tones of time moving vertices around just trying to make it work.
Tutorial Notes:
[download id=”1″ format=”2″]
Setting up the plan to trace
The first thing we need to do is get a plan. You can just make it up if you want to, but it is easier if you start off with a plan of some sort, even if you are going to change it, as it helps you get the dimensions right. If you can get a DWG file of the floor plan it will save a lot of time in the beginning, because when you import it into 3D Studio Max it will have real world dimensions which helps when you are building furniture, making windows and doors and importing from commercial model packages.
Just to come from a worse case scenario and more accessible to everyone for this tutorial I will start with a plan found on google at http://streeteasy.com/nyc/sale/596647-condo-245-seventh-avenue-chelsea-new-york
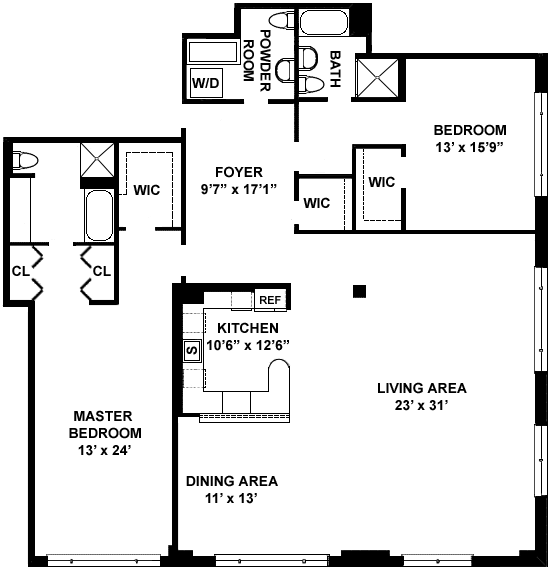
Once we have the plan we need to trace the walls in to a spline. I originally used Freehand, I know they stopped making this software many moons ago, but it is so much easier than using Adobe Illustrator and old habits die hard. Today though we’ll trace the walls in 3D Studio Max.
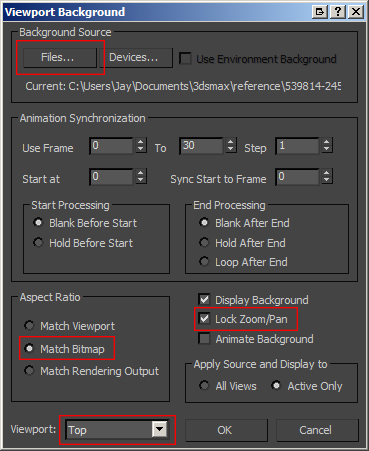
To get started we need to place the plan into the top view so we can trace it. I started a new project in Studio Max, clicked on the top view then went up to the top menu and selected View – Viewport Background – Viewport Background (Alt-B). Click Files… in the top left and selected my plan. So that the plan will pan and zoom while you work on it select Match Bitmap and Lock Zoom/Pan and make sure the Viewport: is set to Top and click OK.
If you find that the image doesn’t pan and zoom save your file and restart Studio Max.
Tracing the walls
Make sure you have the Top viewport selected and click Alt-W to single out the view. Now lets start tracing the walls, leave the doors and windows just trace the walls. Use the Lines tool under Create, shapes whilst holding down the shift key to constrain it to a 90 degree angle. Make sure you have Start new shape unchecked so you end up with all the walls on one shape. It is not a problem if you end up with a new shape for each wall you can always attach them all together into one shape at the end.
Try and work using layers it makes life much easier and name all your shapes and objects as you go along. Don’t worry too much about accuracy at this point, you can tidy all the vertices up once you have traced the whole wall area using the move tool and 3D snap. To add more vertices to a completed loop select the line right click on it and select Refine Edge and add a point.
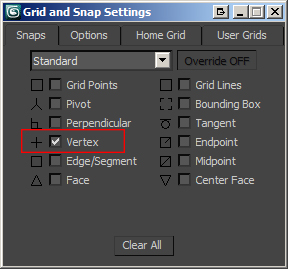
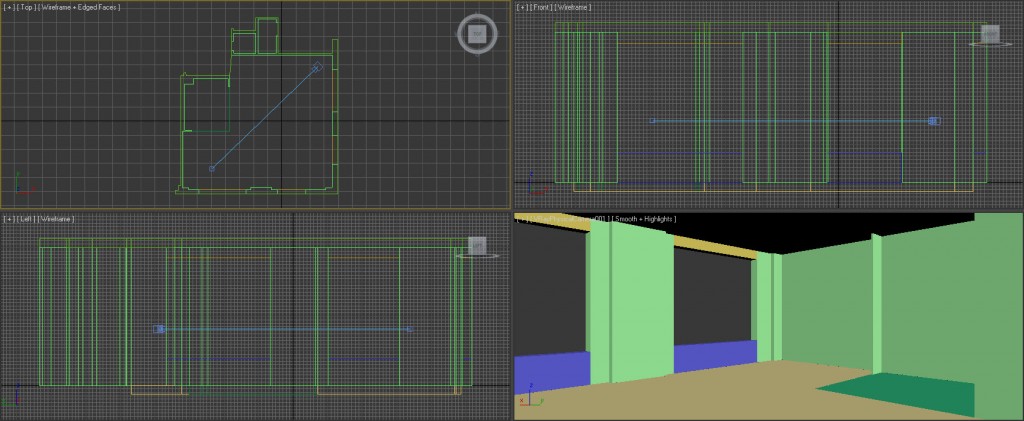
The walls all need to line up so to clean them up I used the move tool and the 3D snap tool. Go up to the snaps toggle, make sure it is set to 3D then right click on the toggle and set it to Vertex.
TIP:
For a massive tip, ALWAYS use the select tool (Q) instead of the Move tool (W) to select vertices and objects in your scene. I can’t tell you the amount of times I have selected something using the move tool and moved it without knowing, especially when clicking through layers of objects to get the the item I want. Just keep your fingers over the Q and W buttons to swap between select and move and use the space bar to keep the item selected.
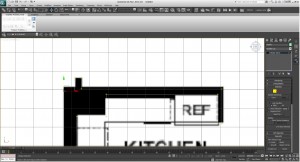
As you can see from the image above I have some vertices not aligned, so I selected them (Q) then hit (W) now with 3D snap turned on click on the green arrow and move the cursor on to one of the other vertices I wanted to align to. Because I clicked on the "y" arrow the vertices will only move along the y direction in 3d space.
Once you have the walls outlined and attached in to one object I had to make the floor plan the correct scale. As on all plans the size of the living room is specified so I made a box 23 x 31 feet. I am a metric man so my units under the Customize menu are set to Metric Centimetres, this doesn’t matter when entering numbers they will automatically get converted to you working units, nice ay? I drew a rough box then entered 23′ in to width and 31′ into length. I am not worried about the height as this box is just a reference to scale the plan to. The box is a lot bigger than plan I just drew, so I scaled the plan up the correct size. If it helps move the Pivot point to the corner of the plan. to work with the walls correctly I had make the scale of the wall to be zero but keep this size otherwise when I add the extrude modifier the numbers will be off eg. I would have to enter 5cm in to the height instead of 8 feet because scaling will still be active. To set scale to zero I added a Reset Xform modifier from the utilities menu.
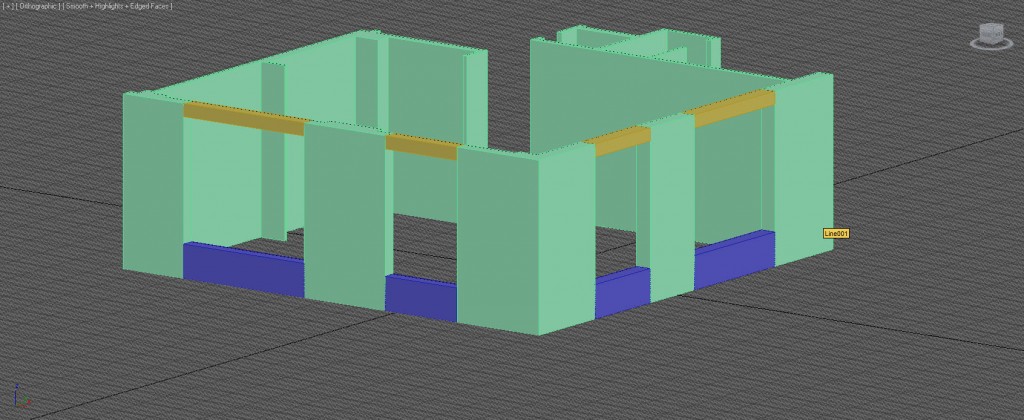
After deleting the reference box and turning off the top view background its time to give the walls some height, so I added the Extrude modifier to the Spline and entered 400 cm to the height for a double height ceiling.
Window and door holes
I need to add a bridge wall to the top of the door and window gaps, so back in the top view with 3D snap turned on I used the Rectangle Spline tool to fill in the gaps remembering to turn off start new shape, then added an extrude modifier with -1′ in the height. Now I did the same thing again but missed out the doors to fill in the gap below the windows with a height of 2′ 7" and moved it down to the bottom of the wall.
Building the Floor and Ceiling
Well that’s the end of the supposedly complicated part. For the ceiling snap a line around the OUTSIDE edge of all the walls and extrude them.
For the floor snap a line around the INSIDE of the walls. On this plan the kitchen is in with the living room and I want a different floor so I have to make a different spline.
I hope this tutorial helped. If you have any question please leave a comment below.
If you want the scene from this tutorial you can [download id=”1″ format=”2″]
[include]adsense.php[/include]
