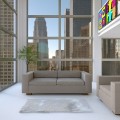
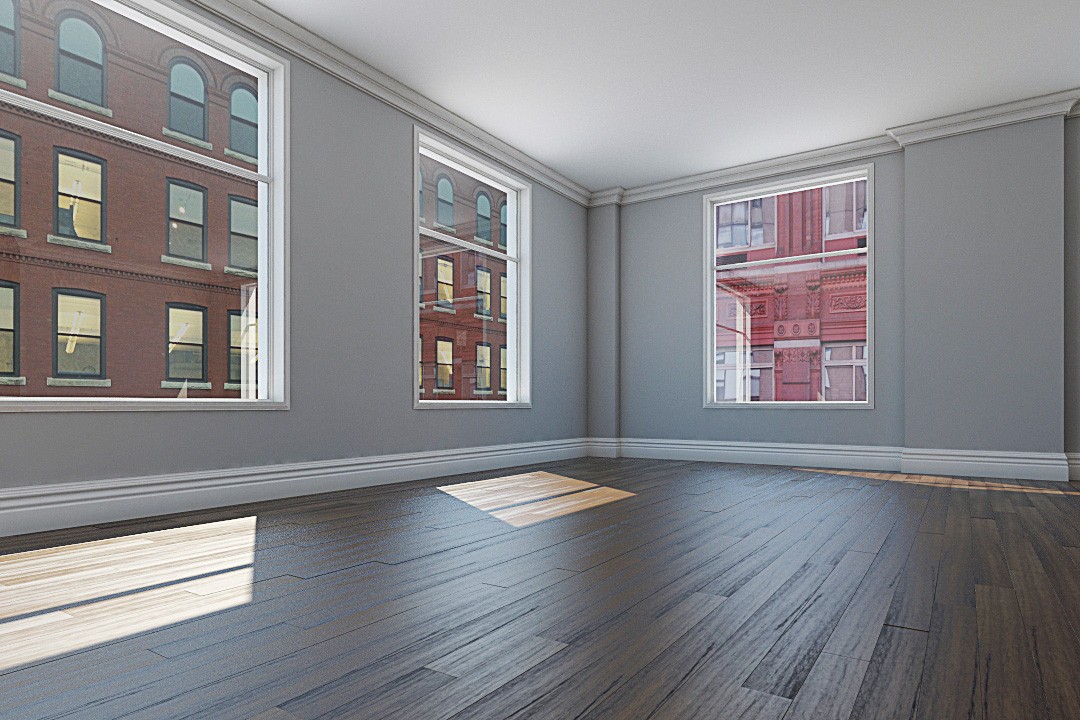
Loft apartment livingroom

Here is a case study of The Loft. You will find below a description of how the walls and windows were built, along with references to various software adons to Studio Max to make building and rendering computer generated interiors easier.
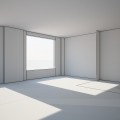
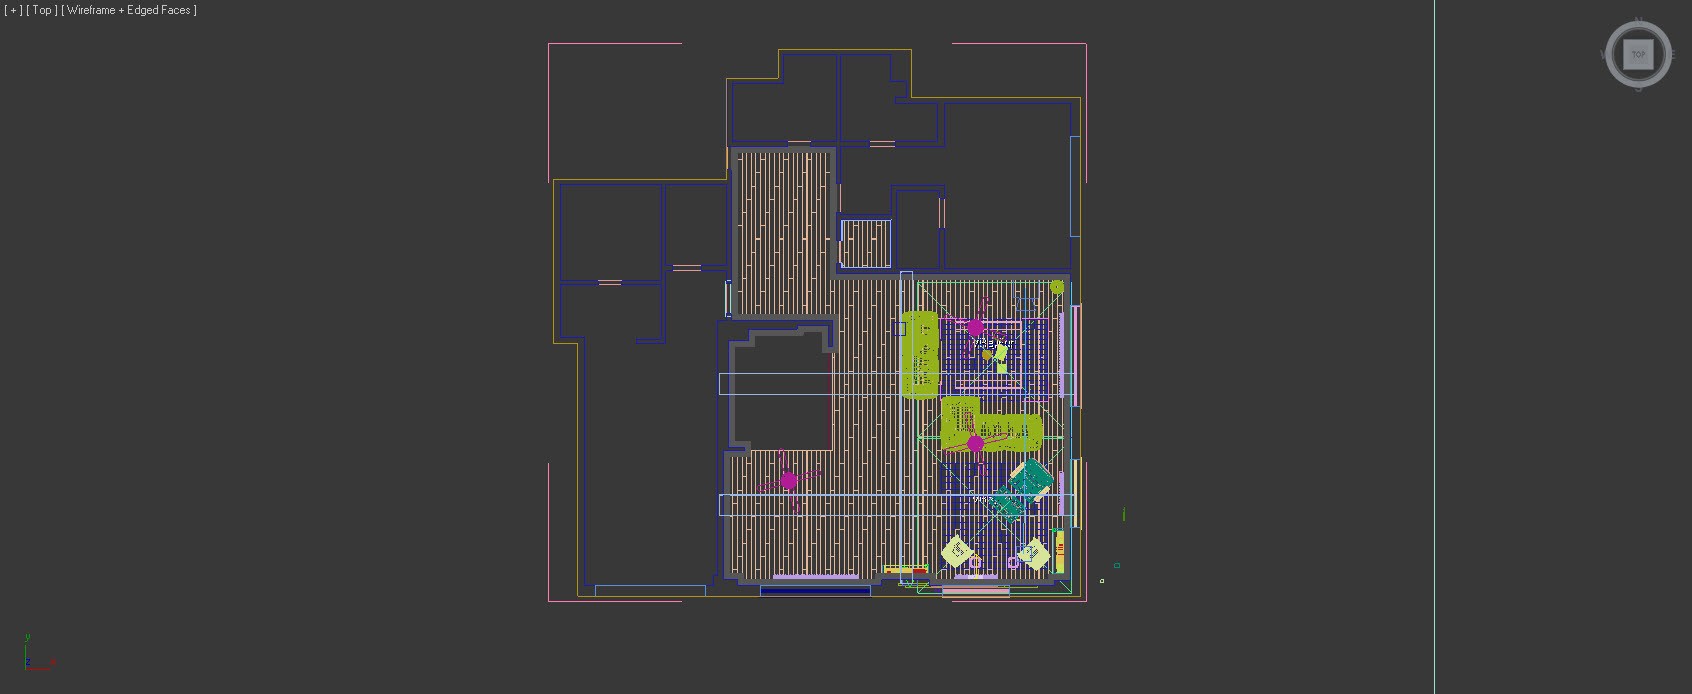
Building the walls
After loading in a JPG of the plan I used the line tool around all the walls, windows and doors then added the extrude modifier.
Here is a tutorial on CG Interior building the walls, ceiling and floor.

I wanted a double height ceiling so set the extrude to 4 meters and for the upper wall above the windows I set 30.48cm and moved it upward with the 3d snap turned on. Because of the double height ceiling I made the upper wall above the doors 2 meters, but normally I would make the upper window and door wall heights the same. Windows are usually 2.8 feet from the floor so after copying the upper walls downward I set them to this new height.
Tip:
If you set your units to metric cm under the customize menu you can still type feet and inches into the working fields and it will automatically convert it to your working units.

For the floors I used the line tool again with snap turned on I drew around each floor space separately on the inside of the walls then drew around the whole plan in one for the ceiling.

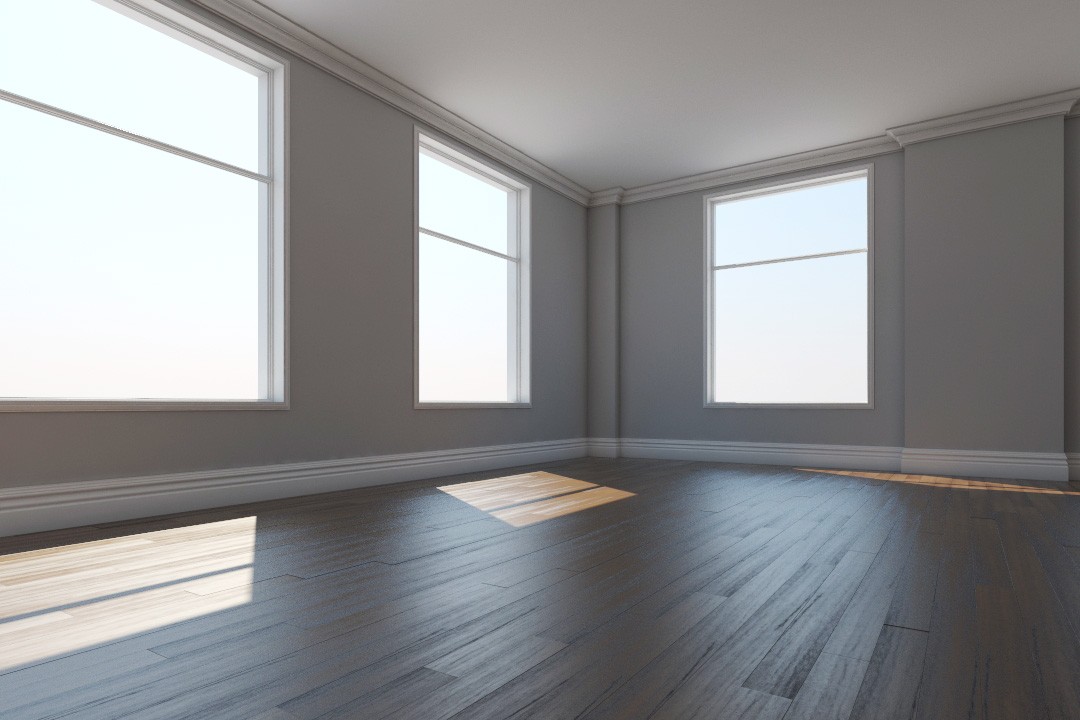
Adding flooring, skirting and cornice
For the living room floor I used the wonderful FREE FloorGenerator script from www.cg-source.com using the following settings.

For the skirting and cornice I used to spend hours extruding a shaped polygon around the wall in bits aligning the vertices in the corners, nightmare, but no longer now I use BevelPath. This is essentially drawing a line, with 3d snap turned on, around the walls leaving gaps for the doors then adding a Bevel Profile modifier and a Cap Holes. A full tutorial can be found at Skirting, Cornices & Door frames using Bevel Profile.

For the windows I draw spline’s using a segmented plane as a guide then run a bevel profile along them. A tutorial of this technique can be found in Modeling Quick Windows in 3D Studio Max.
For the view out of the windows I used a simple line extruded, converted into a polygon then using a Multi/Subobject with VrayLight materials applied with images I found on google.

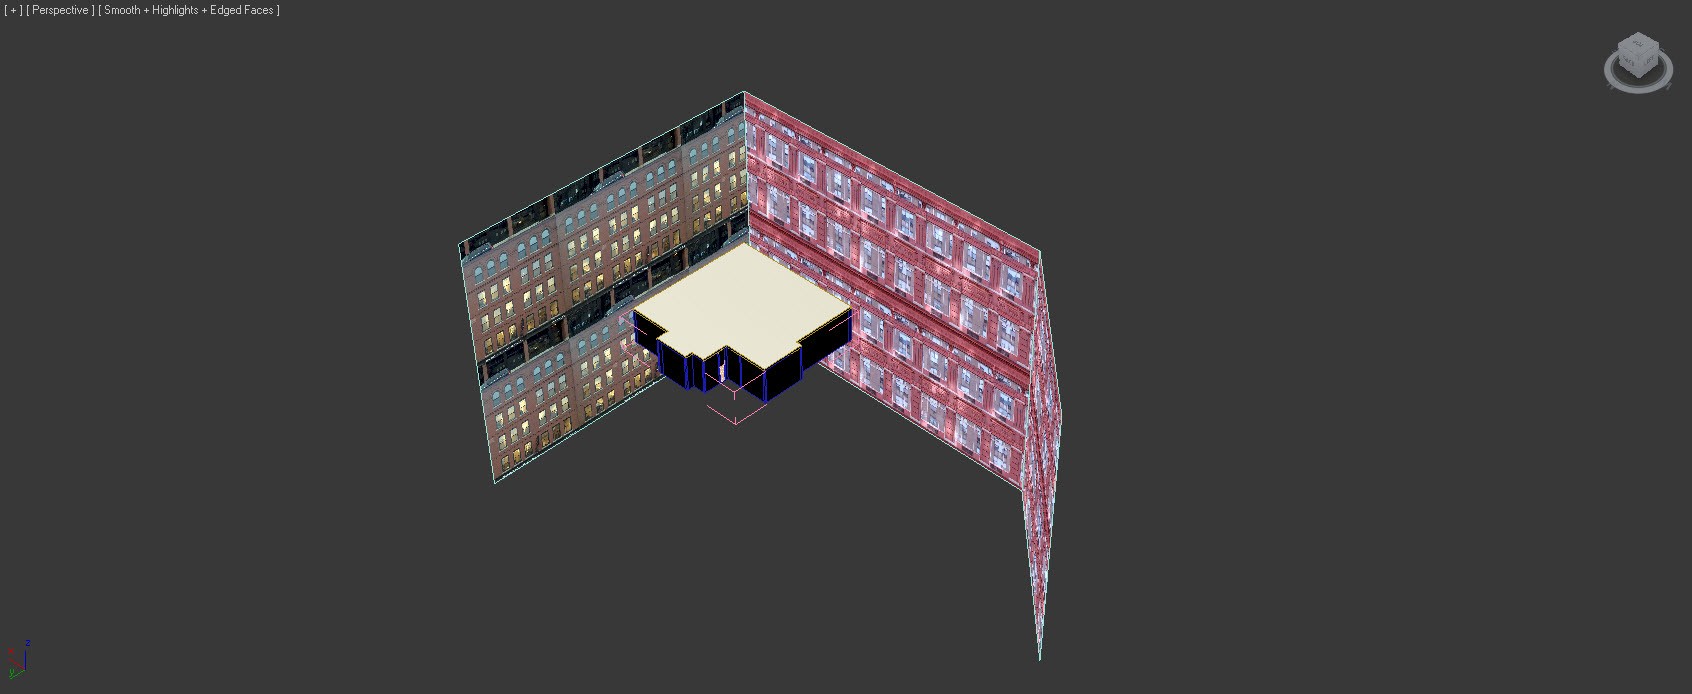


The cyclorama can be moved into the distance and scaled to achieve an out of focus look when depth of field is used on the camera.
Furniture
The next step is to fill the room with objects. These can either be bought or modeled. Modeling your own objects is fairly simple but time consuming, but over time you store them and use them time and time again and you don’t have copyright issues. The sofas in this scene were from the fantastic model pack Vol.07 Sofas+armchairs from Model plus Model and the fans were free from turbosquid.com but everything else was modeled.

For the books on the shelves I used the fantastic Book manager also from Model plus Model, it is the quickest way to inexpensively fill your shelves with books.

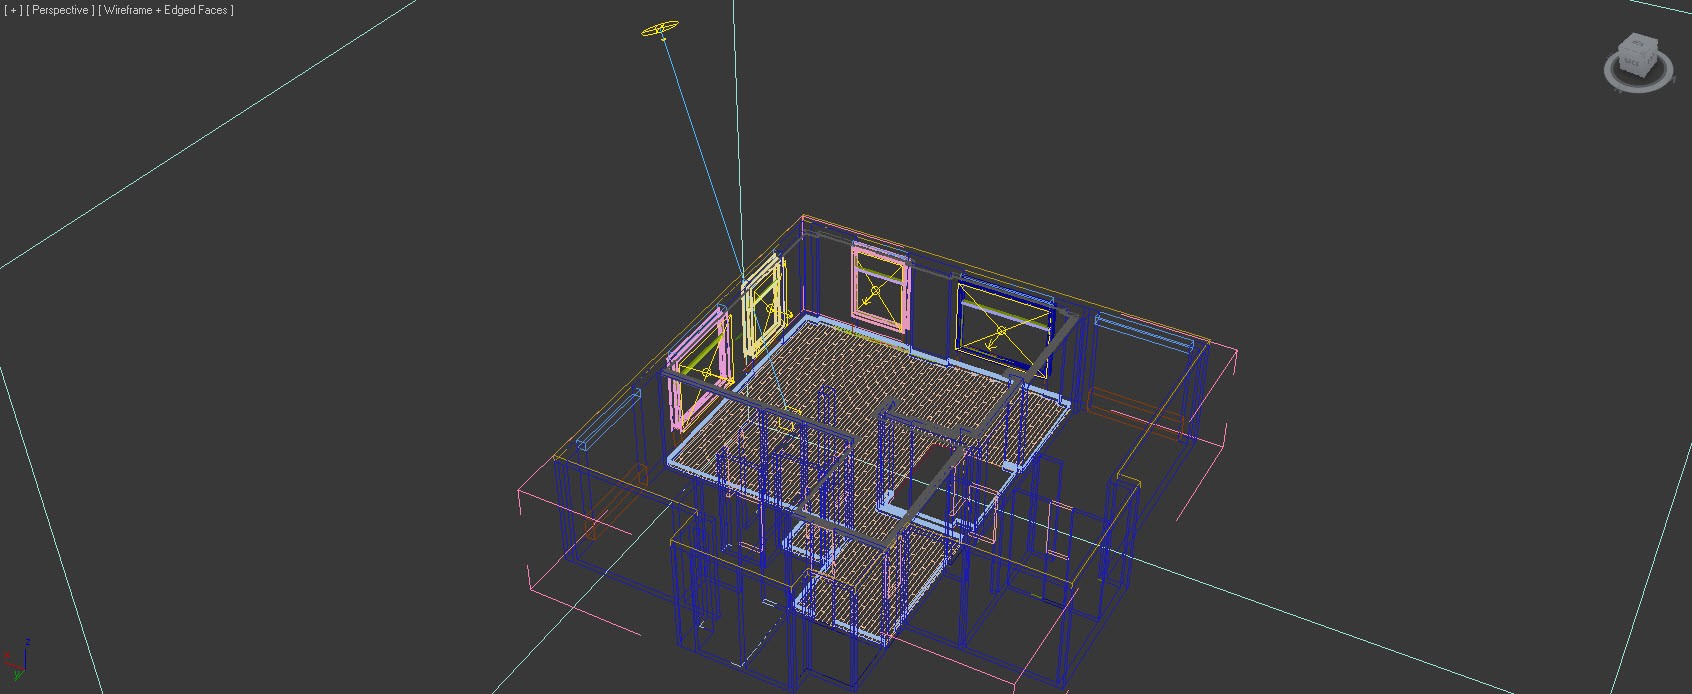
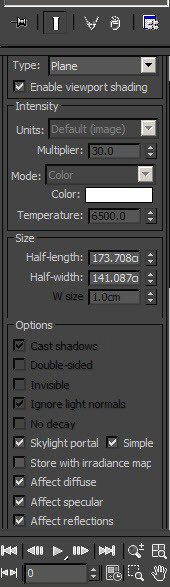
Lighting an interior scene in Studio Max
For the lighting I have a VraySun light shining through the windows and Vray Plane lights on each window. These are set to a Skylight portal to act to increase the amount of photons for the VraySun and selecting simple restricts them to the arrow side of the plane to seed up rendering.
Textures
The Wood Flooring


Vray settings for interior scene
I use SolidRocks Vray Wizard for setting the Vray settings, this has saved me hours trying to find the correct rendering settings, camera exposures and white balance. A couple of clicks and the drag of a slider and all your settings are done for you.
For post production I rendered an ambient occlusion pass using a Free plugin at creativecrash. It is easy to do an ambient occlusion pass with a Vray Dirtmap, but using this plugin makes it a one click affair. In Photoshop I added the ambient occlusion pass as a layer set to multiply and adjusted its opacity to bring out the shadows in the hard to reach places.
I hope this tutorial is of help to you. If you have any comments of question please leave a message below.